
Why Is My Oven Gasket Not Sealing Properly?
Why Is My Oven Gasket Not Sealing Properly?
A damaged Oven Gasket can turn a simple baking problem into wasted energy, uneven cooking, and lingering heat around the door. The gasket is the flexible seal fitted around the oven opening. It should press evenly against the door when closed. If one corner stays loose, hot air may escape through a narrow, visible gap.
“Small gaps can create big heating problems,” says appliance-repair specialist Doug Rogers. “Inspect the seal before adjusting the door or replacing major parts.” This practical advice keeps the diagnosis focused. A gasket may look acceptable while hiding flattened sections, hardened rubber, or burnt edges. Touch can reveal what eyesight misses.
Check the seal when the oven is completely cool. Look for tears, brittle areas, detached clips, or grease trapped beneath the gasket. Close the door over a sheet of paper. If the paper slides out easily, that section may not be sealing firmly. Try several points around the frame.
The cause is not always the gasket itself. A misaligned hinge, warped door, loose latch, or dirty contact surface can produce similar symptoms. That distinction matters. Replacing the seal too quickly wastes money and may not solve the leak.
Still, home testing has limits. Some ovens use different gasket designs, and forcing the door can worsen alignment. Record the model number before ordering parts. If the door remains uneven or heat escapes heavily, arrange a qualified inspection. A careful diagnosis is slower, but usually safer and more reliable.
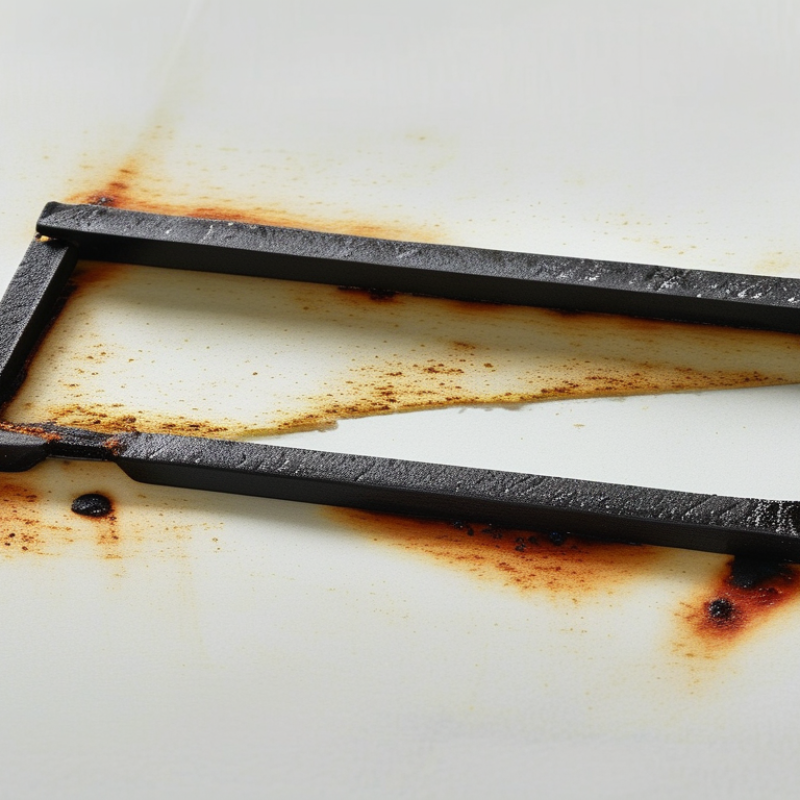
What an Oven Gasket Does and Why a Proper Seal Matters
Why Is My Oven Gasket Not Sealing Properly?
An oven gasket forms a flexible barrier between the door and the oven frame. It keeps heated air inside and helps maintain a stable cooking temperature. When the seal works, the door should close evenly, without visible gaps or loose corners. I once assumed a slightly flattened gasket was harmless. That assumption was wrong. A small leak can make the oven cycle longer, dry food unevenly, and heat the surrounding cabinetry.
The U.S. Department of Energy’s residential cooking data commonly estimates a conventional electric oven at about 258 kilowatt-hours annually, depending on usage and configuration. Poor sealing may increase heating time, although the exact loss varies by appliance and cooking habits. The National Fire Protection Association’s Home Cooking Fires report for 2017–2021 found cooking equipment involved in 53% of reported home structure fires. A damaged gasket does not cause every cooking fire, but unstable temperatures can encourage longer, less controlled cooking.
Check the gasket when the oven is cool. Look for cracks, hardened sections, pulled corners, or grease trapped beneath the seal. Close the door on a thin sheet of paper. If it slides out easily in several places, the seal may be weak. Do not stretch the gasket or force the hinges. That can create a worse gap. Some ovens use a removable seal, while others require service. The repair guide matters. My own practical mistake was cleaning aggressively and ignoring the frame. A bent frame can prevent a new gasket from sealing properly.
Why Is My Oven Gasket Not Sealing Properly? - What an Oven Gasket Does and Why a Proper Seal Matters
| Area | What the Oven Gasket Does | Common Sign of a Poor Seal | Likely Cause | Recommended Check or Action | Priority |
|---|---|---|---|---|---|
| Heat retention | Creates a flexible barrier between the oven door and the front frame to help keep heated air inside the cavity. | Food cooks slowly, browns unevenly, or needs noticeably more time than normal. | Gasket is compressed, hardened, torn, or no longer sitting in its channel. | Inspect the entire gasket for gaps, flattened areas, cracks, and sections that pull away from the frame. | High |
| Door contact | Forms a continuous contact surface when the door is fully closed. | Visible light or a noticeable gap appears around one or more sides of the closed door. | Door hinges are worn, the door is misaligned, or the gasket is installed unevenly. | Close the door gently and check whether the gaps are even. Do not force or bend the door. | High |
| Air leakage | Limits the escape of hot air and helps the oven maintain a stable cooking temperature. | Hot air escapes around the door, especially near a corner or along the top edge. | Gasket is twisted, displaced, contaminated with grease, or not fully seated. | Allow the oven to cool completely, then clean the contact area with mild soapy water and reseat the gasket if appropriate. | High |
| Temperature control | Reduces heat loss so the heating system can cycle more consistently. | Temperature swings, undercooked centers, or excessive heating cycles. | Poor sealing is allowing heat to escape faster than intended; a separate thermostat issue is also possible. | Verify the gasket first. If the problem continues after sealing is restored, test the oven temperature with a suitable oven thermometer. | Medium |
| Gasket condition | Provides a heat-resistant, compressible seal during repeated heating and cooling cycles. | The gasket feels brittle, stiff, frayed, melted, or permanently flattened. | Age, repeated thermal cycling, abrasive cleaning, or contact with spills and grease. | Replace the gasket with the correct type and dimensions for the oven model; do not use a generic substitute that does not fit properly. | High |
| Cleaning and debris | Maintains a smooth contact line between the gasket and the oven frame. | The door closes unevenly or the seal feels lumpy in isolated areas. | Food residue, grease, ash, or cleaning-product buildup is preventing full contact. | Clean with a soft cloth and mild detergent after the oven is cold. Avoid scraping, soaking, or using harsh chemicals on the gasket. | Medium |
| Door hinges and latch | Works with the hinges and latch to keep the door pressed evenly against the gasket. | Door feels loose, drops when opened, does not latch firmly, or sits at an angle. | Worn hinges, a damaged latch, loose fasteners, or a bent door component. | Stop using the oven if the door cannot close securely. Arrange qualified service for hinge, latch, or door repairs. | Urgent |
| Safety and efficiency | Helps reduce unnecessary heat loss, protects nearby controls and surfaces, and supports intended oven performance. | Excessive heat around the door, unusually long preheating, or a hot exterior near the control area. | Persistent leakage caused by a damaged gasket, misaligned door, or faulty closing mechanism. | Turn the oven off if smoke, scorching, electrical odor, or abnormal exterior heat occurs, and seek professional inspection. | Urgent |